Laravel Deployment: Important Notes and Hacks
By Hisham · Published on October 06, 2025
Deploying a Laravel application can be tricky if you are not familiar with server setups. Here is a step-by-step guide to help you deploy your Laravel app efficiently.
1. Prepare Your Build
Before deployment, run
npm run buildto compile your assets if you are using Vite.Zip your local project files (excluding unnecessary files like
node_modules) to upload them easily.
2. Upload to Server
Upload the zip file to your server via FTP or the hosting control panel.
Extract the files outside the public_html directory, for example in a folder called
laravel.Delete the existing
public_htmlfolder or rename it to something else for backup.
3. Set Public Directory
Using SSH, create a symbolic link from the Laravel
publicfolder topublic_html:
cd [path/to/yourdomain]
ln -s ./laravel/public /public_html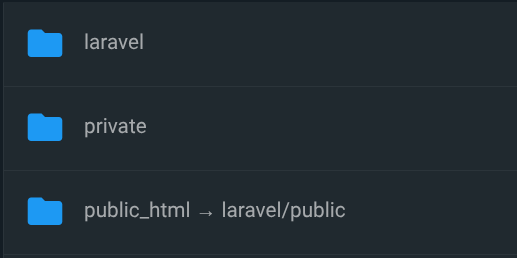
4. Storage Link
Create a storage link to access uploaded files:
cd laravel/public
rm storage #if exists
ln -s ../storage/app/public storage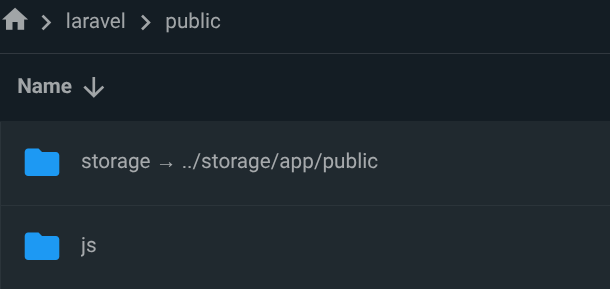
5. Fix Vite Error (tring to hot reload)
go to the public folder
delete the hot file
now vite will work without
6. Configure Environment
Edit the
.envfile and update the database credentials:
DB_DATABASE=your_db_name

DB_USERNAME=your_db_user

DB_PASSWORD=your_db_password
7. Clean Up
Search for any hot files in the
publicdirectory and delete them to avoid conflicts.Clear caches if needed:
php artisan config:cache

php artisan route:cache

php artisan view:cache
7. Additional Tips & Hacks
Set proper folder permissions for
storageandbootstrap/cache.Use
php artisan migrate --forcefor production migrations.Keep a backup of the old public_html for safety.
Check that
APP_URLin.envmatches your domain.
By following these steps, your Laravel application should run smoothly on shared hosting or a VPS environment.